
 770-PLUMBER

Winter-Proofing Your Plumbing in Atlanta: Essential Prep Steps
Brr, winter’s around the corner! And while Atlanta isn’t exactly the North Pole, those chilly temps can still wreak havoc on your plumbing. Prepping now means fewer headaches (and financial hits) later.
Let’s talk about the importance of preparing your plumbing system for winter and the proactive steps you can take to avoid a mid-January meltdown.
Why Preparing Your Plumbing is a Must
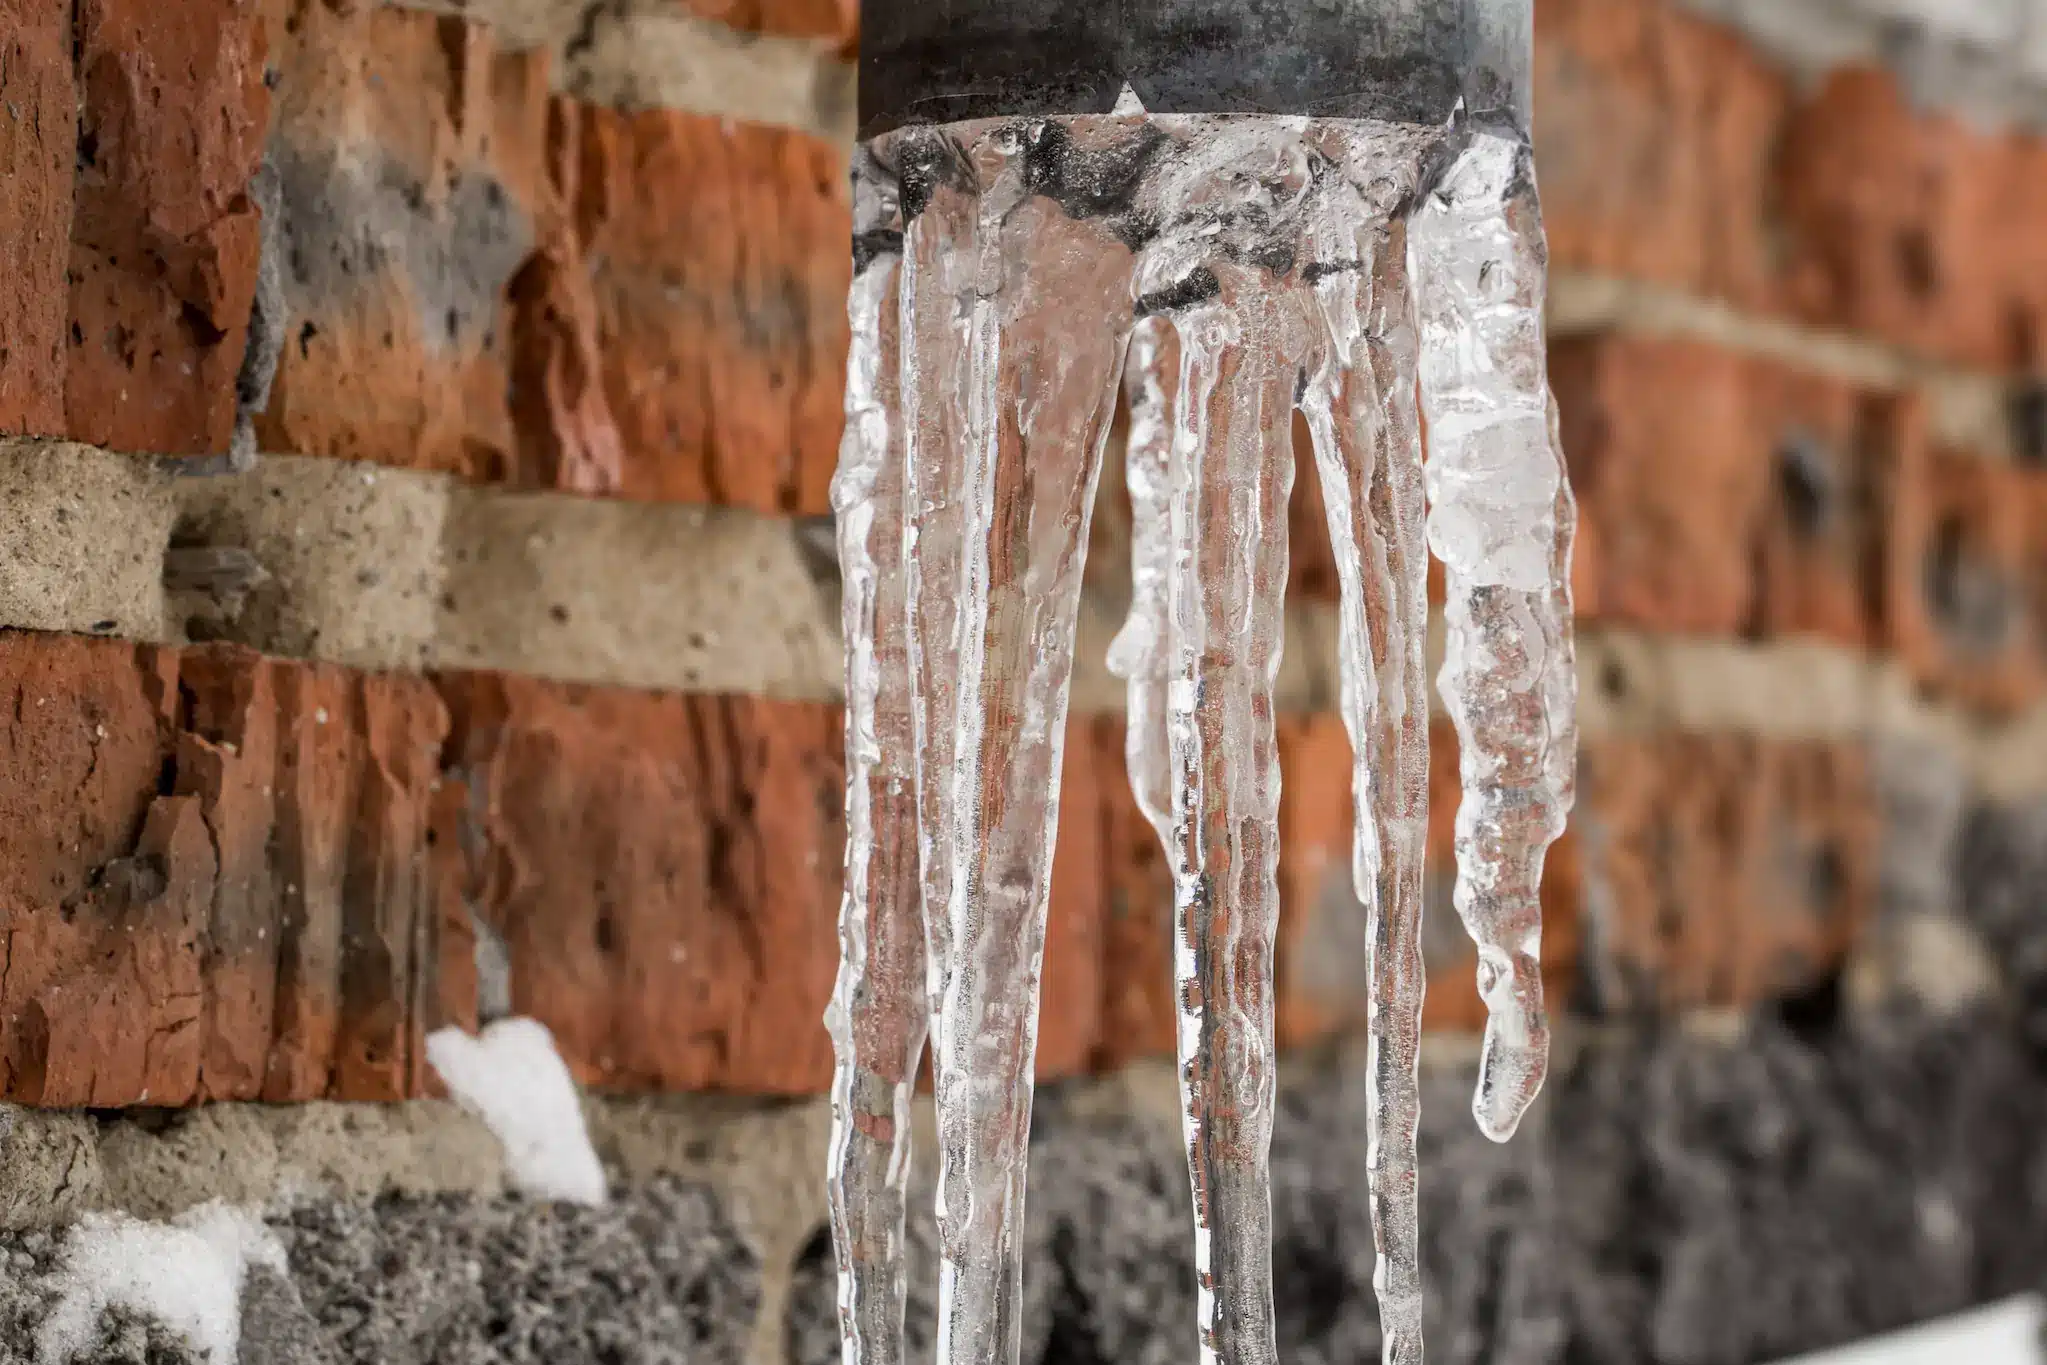
Winter in Atlanta might not be synonymous with blizzards, but freezing temperatures do make an appearance. And when they do, your home’s plumbing is at risk.
Frozen pipes can burst, leading to catastrophic water damage. Not to mention the inconvenience of being without water or the need to shell out big bucks on emergency repairs.
Key Perks of Proactive Plumbing Prep:
- Avoid Costly Repairs: A burst pipe can cost thousands in repairs and replacements. Prevention is way cheaper!
- Peace of Mind: Knowing you’ve taken steps to protect your home can help you sleep a little sounder when that freeze warning pops up.
- Consistent Water Supply: No one wants frozen pipes preventing their morning coffee or, worse yet, impacting the heating system.
Simple Steps to Winter-Proof Your Plumbing
Alright, so how do you actually get your plumbing system winter-ready? Here are some no-nonsense steps you can start on today:
Insulate Your Pipes
Insulate exposed pipes in unheated areas like the basement, attic, and garage. You can use pipe sleeves, heat tape, or even good ol’ newspaper for a quick fix. The goal is to keep them snug and warm enough to prevent freezing.
Disconnect and Drain Hoses
Don’t forget to disconnect garden hoses and drain any remaining water. Not doing so can lead to frozen pipe messes that extend into your home’s plumbing.
Seal Any Leaks
Check for any leaks or drafts near your plumbing. Even a tiny draft can cause pipes to freeze. Seal gaps around windows, doors, and where plumbing enters and exits the house.
Drip, Drip, Drip
During particularly cold spells, letting your faucets drip can prevent pipes from freezing. It might seem counterintuitive to waste water to save water, but it’s an essential tactic for avoiding frozen pipes.
When to Call in the Pros
If this all sounds a bit overwhelming—or if you’re dealing with older plumbing—calling a professional plumber in Atlanta is a smart move. An expert can provide a thorough inspection and recommend additional measures suited to your home’s unique needs.
Take these steps now, and your future self (and your plumbing system) will thank you when winter’s chill hits.
Protecting Outdoor Faucets and Hoses
Alright, let’s talk outdoor faucets and hoses. It’s easy to forget about the plumbing outside until it’s too late and things are literally frozen in place.
But with a bit of prep, you can save yourself a major hassle.
Draining and Storing Hoses
First on the list: those trusty garden hoses. Even if you’re the indoor-plant type, chances are you have a hose or two lounging outside.
Disconnect All Hoses from Outdoor Faucets:
Leaving hoses connected can trap water in the faucets and pipes, causing them to freeze and potentially burst. Make a habit of disconnecting them as soon as temps start to drop.
Drain Water from Hoses:
Think your hose is empty? Think again. Give it a good shake and make sure every drop is out.
A frozen hose won’t just damage the hose itself; it can travel back to the spigot, causing major issues.
Store Them Indoors:
Hoses are better off inside where it’s warmer. Coil them up and stow them away in a garage, shed, or even a basement.
This step can extend the life of your hoses and keep them ready for spring.
Covering Outdoor Faucets
Those outdoor faucets, though mostly out of sight and out of mind, need your attention too.
Install Faucet Covers for Protection:
Outdoor faucet covers are inexpensive and easy to install. Think of them like little winter coats for your spigots.
They add an extra layer of insulation, reducing the risk of freezing.
Tips for Insulating Outdoor Spigots:
- Use Foam Insulation: Foam covers are widely available and can be quickly secured over your faucet. They’re an added shield against harsh weather.
- Wrap in a Towel and Plastic Bag: In a pinch, you can wrap the faucet in a towel and secure it with a plastic bag and rubber bands. It’s not pretty, but it works!
- Check for Drafts: Just like inside, if cold air can get to your faucet, you’re at risk. Make sure you seal any gaps around where the pipes exit your house.
Taking these steps can save you from a huge headache and potential water damage when winter gets serious.
Your outdoor faucets and hoses are often the first line of defense against the cold, and a little TLC goes a long way in keeping your plumbing intact.
If you’re not sure about your DIY skills or you’ve got an older faucet setup, don’t hesitate to get some expert help to make sure everything’s in top shape!
Insulating Pipes to Prevent Freezing
Winter-proofing isn’t just about outdoor plumbing; those indoor pipes in unheated spaces need attention too.
Identifying Vulnerable Pipes
First things first—find out which pipes are most likely to freeze. Usually, you’re looking at pipes in unheated areas:
- Basements: These areas often have exposed pipes that can get seriously chilly.
- Attics: Don’t overlook the attic. Cold air can seep in and freeze pipes like it’s nobody’s business.
- Garages: If you’ve got plumbing in your garage, it’s definitely in the danger zone.
Once you’ve identified these pipes, it’s time to step up your game. Insulation is your go-to solution. You can use:
- Pipe sleeves: These foam covers are easy to install and offer solid protection.
- Heat tape: We’ll get into this more, but it’s a lifesaver for extremely cold conditions.
- Even newspaper: In a pinch, wrapping pipes with several layers of newspaper can ward off freezing temperatures, though it’s not a long-term solution.
Installing Heat Tape or Cable
Sometimes, insulation alone just doesn’t cut it—especially during those brutal cold snaps. For extra protection, heat tape or heat cables are worth considering.
Benefits of Heat Cables
- Consistent Heat: These cables provide a steady stream of warmth, preventing pipes from freezing.
- Great for Extreme Cold: If your area is prone to sudden, severe cold spells, heat cables are a total game-changer.
- Energy Efficient: Many modern heat tapes are energy efficient, saving you from sky-high electric bills.
Step-by-Step Guide to Installation
Measure and Purchase:
- Grab your tape measure and determine the length of the pipe you need to cover.
- Purchase heat tape or cable that’s rated for your specific needs. Make sure to buy one that has a built-in thermostat for better efficiency.
Preparation:
- Clean the pipe surface thoroughly to ensure there’s no dust or debris.
- Make sure the pipe is dry.
Install the Heat Tape:
- Follow the manufacturer’s instructions religiously.
- Generally, you’ll start by attaching the thermostat to the pipe.
- Wrap the heat tape around the pipe, ensuring it’s snug but not overly tight. Leave space between wraps to prevent overheating.
Secure the Tape:
- Use electrical tape to secure the heat tape in place.
- Avoid using duct tape, as it can deteriorate over time and isn’t as heat resistant.
Insulate Over the Tape:
- Once the heat tape is installed, add a layer of pipe insulation over it. This layers warmth and protection, boosting the tape’s efficiency.
Double-Check and Power Up:
- Before turning it on, double-check your installation.
- Then, plug the heat tape into a nearby power source and make sure it’s functioning.
Don’t underestimate the power of pipe insulation and heat tape combined. They work wonders together, keeping your plumbing system safe and sound through winter’s worst. Act now and enjoy your hot cocoa without worrying about pipe-related catastrophes later!
Maintaining Your Water Heater
Winter-proofing your plumbing isn’t just about making sure your pipes don’t freeze. Your water heater needs some TLC too. Trust me, you’ll want it working at full throttle when those cold days hit.
So, how do you keep your water heater in tip-top shape? Let’s break it down:
Flushing the Water Heater
First up, sediment build-up. Over time, minerals from your water settle at the bottom of the tank. This can cause all sorts of problems—from inefficiency to potential damage.
A little maintenance goes a long way.
Steps to Flush Your Water Heater:
- Turn Off the Heater: For gas heaters, turn the thermostat to “pilot.” For electric models, switch off the power at the breaker.
- Attach a Hose to the Drain Valve: Find the drain valve at the bottom of the heater. Attach a garden hose and run it to a safe place where the water can drain.
- Drain the Tank: Open the drain valve and let the water flow out. Be careful—it can be hot! This process flushes out the sediment.
- Refill and Restart: Once the tank is empty, close the drain valve, disconnect the hose, and turn the water supply back on. Wait for the tank to fill before turning the heater back on.
Why This Matters:
- Efficiency Boost: Less sediment means more efficient heating, translating to lower energy bills.
- Extended Lifespan: Regular maintenance can extend the life of your water heater, saving you from costly replacements.
Setting the Right Temperature
Winter isn’t the time for cold showers, right? But keeping the water too hot can be risky. Here’s how to strike the perfect balance:
Recommended Winter Settings:
- Optimal Temperature: Set your water heater to 120°F (49°C). It’s hot enough to keep the chills at bay but not so hot that it’s scalding.
- Consistency Is Key: Maintaining a consistent temperature helps your heater run smoothly. Drastic fluctuations can strain the system.
Safety Tips for Handling the Water Heater:
- Don’t DIY Gas Heaters: If you have a gas heater and you’re unsure about adjustments, call a professional. Messing with gas lines is never a good idea for the untrained.
- Check Pressure Relief Valve: Test the pressure relief valve annually. Lift the handle and let it snap back. If water bursts out, you’re good. If not, it may need replacing.
Giving your water heater a little attention before winter sets in can make a world of difference. From flushing to temperature tweaking, these steps ensure you have a reliable hot water supply when you need it most.
So go ahead, give your water heater the spa treatment it deserves.
Preventing and Addressing Common Plumbing Issues
Getting ready for winter doesn’t stop with your water heater and outdoor faucets. Here’s how to nip common plumbing issues in the bud.
Checking for Leaks
Leaks are sneaky little problems that can lead to major headaches if not caught early. Here’s your game plan:
Spot the Signs:
- Water Stains: Look for discoloration on your walls, ceilings, and floors. They’re telltale signs of a leak.
- High Water Bills: If your water bill spikes unexpectedly, you might have a hidden leak.
- Mold or Mildew: Damp spots are breeding grounds for mold and mildew—another sign of a leak.
Tackle Minor Leaks:
- The Teflon Tape Trick: Wrap a few layers of Teflon tape around the threads of leaky pipe joints to create a temporary seal.
- Simple Tightening: Sometimes, a good tightening with a wrench can do the trick.
- Patch Kits: For pinhole leaks, pipe patch kits from your local hardware store are a quick fix.
Call in the Pros:
- Professional Inspection: Even if you’re a DIY champ, some leaks require a pro’s touch. Plumbers can detect and fix leaks with specialized equipment, which might save you from bigger issues down the road.
Preparing for Emergencies
Winter plumbing emergencies like burst pipes can turn your cozy holiday plans into a soggy mess. Here’s how to prep:
Emergency Tips for Burst Pipes:
- Shut Off the Water: Know where your main water valve is and how to turn it off quickly.
- Temporary Fixes: Use a pipe repair clamp or wrap the pipe with rubber and a C-clamp until a plumber arrives.
- Warm the Pipe: Turn up the heat in your home or use a space heater to gently thaw the pipe. Never use an open flame—it’s risky and can damage the pipe even more.
Have a Reliable Plumber’s Contact:
- Emergency Contacts List: Keep your plumber’s contact info handy. Program it into your phone and post it somewhere visible in your home.
- Know Your Plumber: Establish a relationship with a reliable local plumber before disaster strikes. A good professional will be quicker to respond to an established client.
Keep Your Plumbing in Top Shape
By being proactive, you’re setting yourself up to tackle any plumbing pitfalls winter throws your way. Regularly check for leaks and have an emergency plan in place.
Keep your plumber’s number on speed dial. Take these steps now, and you’ll keep your plumbing in top shape all winter long.
Stay Ahead of Winter: Tips for a Cozy, Leak-Free Season
Winter-proofing your plumbing system isn’t just smart—it’s essential.
From insulating pipes and maintaining your water heater to preparing for emergencies, every step ensures a smooth, stress-free winter.
Stay ahead of the game to enjoy a cozy, leak-free season.
Got questions or need professional help? True Plumbing is just a call away.
Let’s keep those pipes flowing smoothly!
Ready for Winter? Get Your Plumbing in Check
Winter-proofing your plumbing system isn’t just smart—it’s essential. From insulating pipes and disconnecting garden hoses to maintaining your water heater and being ready for emergencies, a little effort now can save you from a whole lot of hassle when temperatures drop.
Essential Steps to Winter-Ready Plumbing
- Insulate Your Pipes
Use pipe sleeves or heat tape for exposed pipes in basements, attics, and garages. - Disconnect and Drain Hoses
Make sure all garden hoses are disconnected and completely drained. - Seal Any Leaks
Check windows, doors, and plumbing entry points for drafts and seal them.
- Let Faucets Drip
During extreme cold spells, let your faucets drip to prevent freezing. - Flush and Set Your Water Heater
Drain sediment build-up and maintain a 120°F temperature setting.
Proactive Maintenance to Avoid Emergencies
Taking a proactive approach is your best defense against frozen pipes and other winter plumbing woes. Regular maintenance not only saves you money but also ensures that your home remains cozy and functional throughout the season.
Schedule with True Plumbing
Need expert help? True Plumbing has got your back. Whether it’s a thorough inspection, emergency repairs, or winter-specific plumbing needs, we’re here to make sure your home stays warm and dry.
Schedule online today and let our pros take the stress out of your winter plumbing prep.
Bite-Sized Tips for Winter-Proofing Your Plumbing in Atlanta
Here are some quick tips to help you winter-proof your plumbing. These takeaways will make preparing for the cold months a breeze.
Disconnect and Store Garden Hoses Indoors
Why disconnect garden hoses from outdoor faucets?
Leaving hoses attached can trap water, causing it to freeze and expand. This can lead to burst faucets and indoor pipes. Disconnecting and draining them prevents this hassle and damage.
Do I need to store my garden hoses indoors?
Yes. Store them inside a garage, shed, or basement. This prevents hoses from becoming brittle and cracking in the cold, extending their lifespan.
Insulate Vulnerable Pipes
Which pipes should I insulate?
Focus on pipes in unheated areas such as basements, attics, and garages. These spots are most susceptible to freezing.
What materials are best for insulating pipes?
Pipe sleeves, heat tape, or even several layers of newspaper can help. Just ensure the materials are suited for your specific needs.
Maintain and Flush the Water Heater
How often should I flush my water heater?
Flush your water heater at least once a year. This removes sediment that can lower efficiency and shorten the unit’s lifespan.
What’s the ideal temperature setting for my water heater during winter?
Set your water heater to 120°F (49°C). This ensures water is hot enough without the risk of scalding and optimizes energy use.
Regularly Check for Leaks and Prepare for Emergencies
How can I spot potential leaks?
Look out for unusual water stains, a sudden spike in your water bill, or mildew odors. Addressing these signs early can save you from bigger issues down the road.
What should I do in case of a freeze warning?
Let your faucets drip during extreme cold snaps to keep water moving and prevent freezing. Also, know where your main water shut-off valve is for quick access in emergencies.
Take Action and Stay Warm
With these tips, you’re ready to winter-proof your plumbing. Each step adds a layer of protection to your home.
And if things get tricky, True Plumbing is just a call away. Stay warm, stay prepared, and keep those pipes flowing smoothly!
Closing: Take Action Now
You’ve got the lowdown on keeping your plumbing winter-ready. Now, it’s time to take action. Don’t leave your preparation to chance!
A well-prepped home can make all the difference when temperatures drop.
Ready to Winter-Proof Your Plumbing?
Be proactive and give True Plumbing a call. Our team of experts in Atlanta is ready to help you tackle any plumbing issues before they become emergencies.
From pipe insulation to thorough inspections, we’ve got you covered.
Book Your Online Consultation Today!
Make your plumbing checklist stress-free. Schedule an online consultation with True Plumbing.
Let us ensure your home is geared up for the winter months. With our professional advice and services, you can rest easy knowing your plumbing system is in capable hands.
It’s simple, convenient, and the best way to protect your home from winter’s chill. Don’t wait—schedule your consultation online now and enjoy a hassle-free winter ahead.